

Quilting is an age-old craft that has evolved significantly with the advent of modern quilting machinery. As a leading supplier of quilting machinery, I understand the importance of proper thread tension in achieving high-quality quilting results. In this blog post, I will share my insights on how to tension the thread on quilting machinery effectively.
Understanding Thread Tension
Thread tension refers to the amount of force applied to the thread as it passes through the quilting machine. Proper tension is crucial because it affects the appearance, durability, and overall quality of the quilt. If the tension is too tight, the thread may break, cause puckering in the fabric, or create excessive stress on the machine. On the other hand, if the tension is too loose, the stitches may be uneven, and the quilt may not hold together properly.
Factors Affecting Thread Tension
Several factors can influence thread tension on quilting machinery. These include the type of thread, the fabric being used, the needle size, and the specific settings of the quilting machine.
Thread Type
Different types of thread have different properties, such as thickness, strength, and stretch. For example, cotton thread is a popular choice for quilting due to its durability and natural look, but it may require different tension settings compared to polyester or silk thread. Thicker threads generally require more tension to ensure smooth stitching, while thinner threads may need less tension to prevent breakage.
Fabric Type
The type of fabric being quilted also plays a significant role in determining the appropriate thread tension. Lightweight fabrics, such as silk or chiffon, may require less tension to avoid pulling or distorting the fabric. In contrast, heavier fabrics, like denim or canvas, may need more tension to ensure that the stitches penetrate the fabric evenly.
Needle Size
The size of the needle used in the quilting machine can affect thread tension. A needle that is too small for the thread may cause the thread to bunch up or break, while a needle that is too large may result in loose stitches. It is important to choose the right needle size for the type of thread and fabric being used.
Machine Settings
Each quilting machine has its own set of tension controls, which allow you to adjust the tension of the upper and lower threads. These controls may include knobs, dials, or digital settings. It is essential to familiarize yourself with the specific tension controls of your quilting machine and understand how they work.
Steps to Tension the Thread on Quilting Machinery
Now that we have a better understanding of the factors affecting thread tension, let's discuss the steps to tension the thread on quilting machinery.
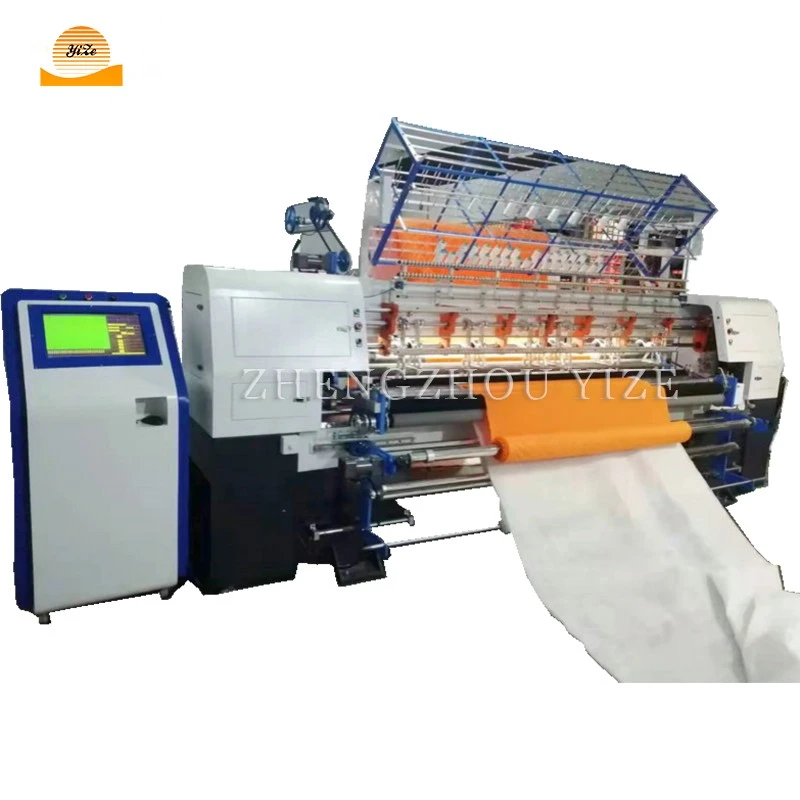

Step 1: Prepare the Machine
Before you start quilting, make sure your quilting machine is properly set up and threaded. Refer to the machine's manual for instructions on how to thread the machine correctly. This may involve passing the thread through various guides, tension discs, and the needle.
Step 2: Test the Tension
Once the machine is threaded, it is a good idea to test the tension on a scrap piece of fabric. Start by sewing a few stitches on the scrap fabric and examine the stitches closely. The stitches should be even, with no loose loops or tight puckers. If the stitches are too loose or too tight, you will need to adjust the tension.
Step 3: Adjust the Upper Thread Tension
Most quilting machines have a tension control for the upper thread. This control is usually located near the top of the machine, above the needle. To adjust the upper thread tension, turn the tension knob or dial in small increments. Turning the knob clockwise will increase the tension, while turning it counterclockwise will decrease the tension. After each adjustment, sew a few more stitches on the scrap fabric and check the tension again. Continue adjusting the tension until the stitches are even and balanced.
Step 4: Adjust the Lower Thread Tension
In addition to the upper thread tension, some quilting machines also allow you to adjust the tension of the lower thread, which is supplied by the bobbin. The lower thread tension is typically adjusted by turning a screw on the bobbin case. Similar to adjusting the upper thread tension, make small adjustments to the lower thread tension and test the stitches on the scrap fabric until the tension is correct.
Step 5: Fine-Tune the Tension
Once you have adjusted the upper and lower thread tensions, it is a good idea to fine-tune the tension by sewing a few more stitches on the scrap fabric. Pay attention to the appearance of the stitches and make any necessary adjustments to the tension controls. It may take a few tries to get the tension just right, but with practice, you will be able to achieve consistent, high-quality stitches.
Tips for Maintaining Proper Thread Tension
In addition to adjusting the thread tension correctly, there are several tips you can follow to maintain proper thread tension during the quilting process.
Keep the Thread Clean
Over time, dust, lint, and debris can accumulate on the thread and in the tension discs of the quilting machine, which can affect the thread tension. It is important to keep the thread clean by regularly cleaning the machine and using a lint brush to remove any debris from the thread path.
Use High-Quality Thread
Investing in high-quality thread can make a significant difference in the performance and appearance of your quilting. High-quality thread is less likely to break or fray, and it will generally provide smoother, more consistent stitching. Look for thread that is specifically designed for quilting and has good strength and durability.
Check the Needle Regularly
The needle can become dull or damaged over time, which can affect thread tension and stitching quality. It is important to check the needle regularly and replace it if it appears to be worn or bent. A sharp, new needle will help ensure smooth, even stitching.
Practice on Scrap Fabric
Before starting a new quilting project, it is a good idea to practice on a scrap piece of fabric to test the tension settings and get a feel for the machine. This will allow you to make any necessary adjustments before working on the actual quilt.
Conclusion
Proper thread tension is essential for achieving high-quality quilting results. By understanding the factors that affect thread tension, following the steps to adjust the tension correctly, and implementing the tips for maintaining proper tension, you can ensure that your quilting projects turn out beautifully. As a supplier of Sewing Quilting Machine, Multi-needle Quilting Machine, and Single Needle Continuous Quilting Machine, we are committed to providing our customers with the best possible products and support. If you have any questions or need further assistance with tensioning the thread on your quilting machine, please do not hesitate to contact us. We look forward to helping you take your quilting to the next level.
References
- "Quilting Basics: Understanding Thread Tension." Quilting Digest.
- "How to Adjust Thread Tension on a Sewing Machine." Sewing Machine Advisor.
- "Thread Tension: The Key to Perfect Quilting." The Quilt Show.